Today started off well enough. We hitched our 4'x8' utility trailer to the truck, and set off for Lowe's, 40 miles away, to pick up a door and five sheets of ¾" plywood.
Halfway there, driving on the Interstate, the truck began having trouble maintaining speed. A glance in the rearview mirror showed smoke streaming behind us! But the dash instruments didn't show any engine problem, so what was wrong?
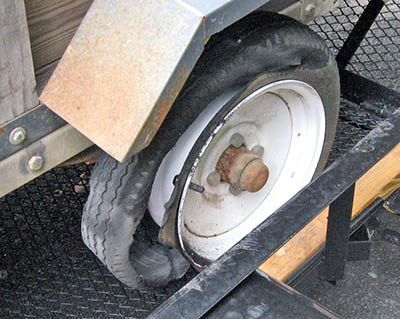
Fortunately, an exit was in sight, so we took it. As we turned into a gas station, Mike discovered the smoke was coming from the left trailer wheel – the bearing had seized, the tire was shredded and the wheel was destroyed. We left the trailer in the parking lot, and continued on our way.
Louise remembered that Lowe's sells trailers, so we bought a 5'x8' steel trailer with a drop ramp. It's rated for nearly twice the capacity as the now-dead 4'x8' trailer, so it will be suitable for hauling the tractor, should it need dealer servicing. We loaded the plywood and door into the truck bed to leave the new trailer empty.
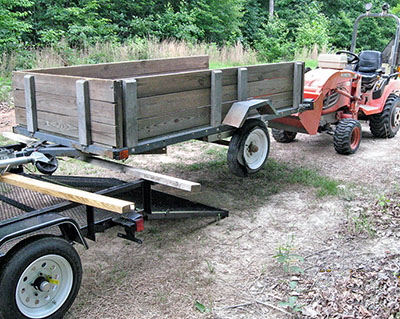
We returned to the gas station to rescue the old trailer. With the help of two strong young men and a couple of 2x4s we'd brought from home, we muscled the old trailer onto the new one, and carefully drove home. Once there, we unloaded the plywood and door from the truck, then Mike used the tractor to unload the old trailer. Here are photos of the ruined tire and the tractor unloading the old trailer.
Now we can get back to building the observatory.

|

|
The weather cooperated with moderate temperatures and low humidity. Mike installed a 3" PVC pipe under the deck to act as a conduit for cables between the computer and the telescope. Louise joined him later, and we installed the first piece of plywood on the northwest corner (foreground). We also unstacked the remaining four sheets to allow both sides to dry, because the trapped moisture caused them to warp and bow in the hot sun.
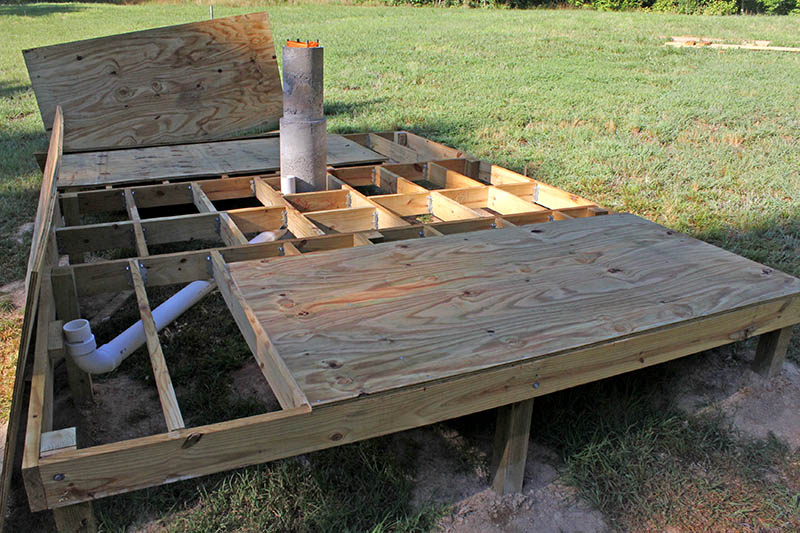
We worked for about five hours and installed much of the remaining deck plywood, and cut other pieces to size, ready for installation tomorrow or the next day.
Plywood panel 1 in this photo was installed yesterday. Today we cut and installed panels 2, 3, and 4. We cut panel 5 to size, but we need to install two 2x4 stringers to support its left edge, then we can nail it down. Panel 6 is cut to size, and is waiting in the workshop for Mike to cut a circular hole for the 3" PVC pipe sticking up through the framing.
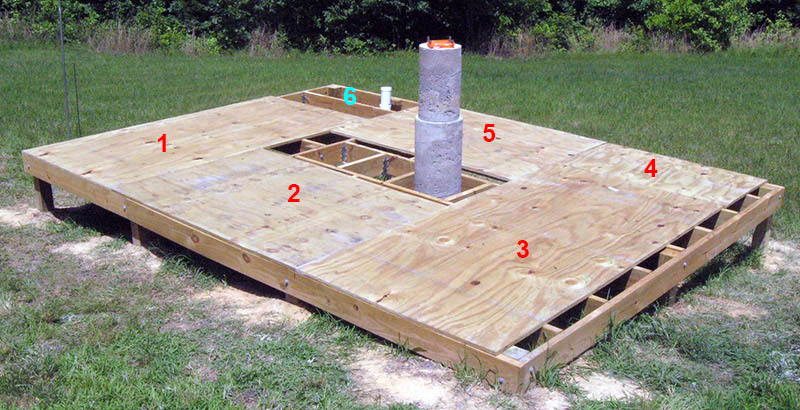
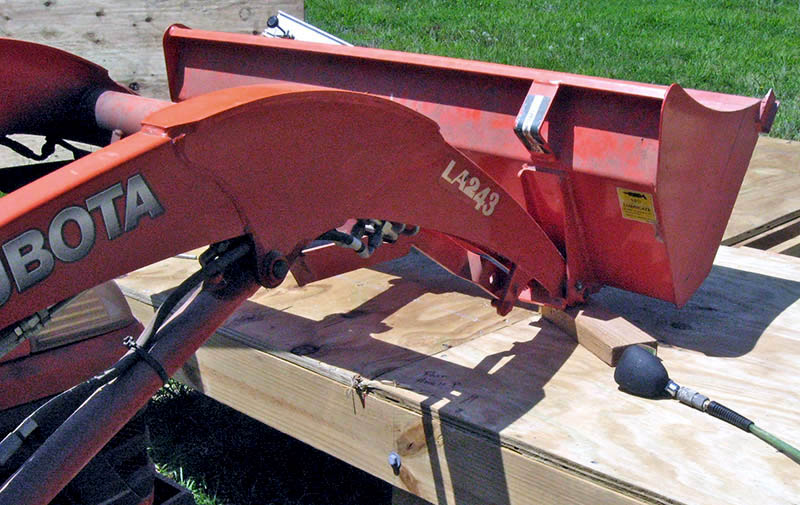
Mike worked for three hours, and installed two 2x4 stringers and the two remaining plywood panels we cut yesterday. Some plywood bows upward and doesn't sit firmly on the joists. Yesterday we used clamps to pull it tight for nailing, but today Mike used the tractor's front-end loader to apply about 600 pounds to flatten the panel.
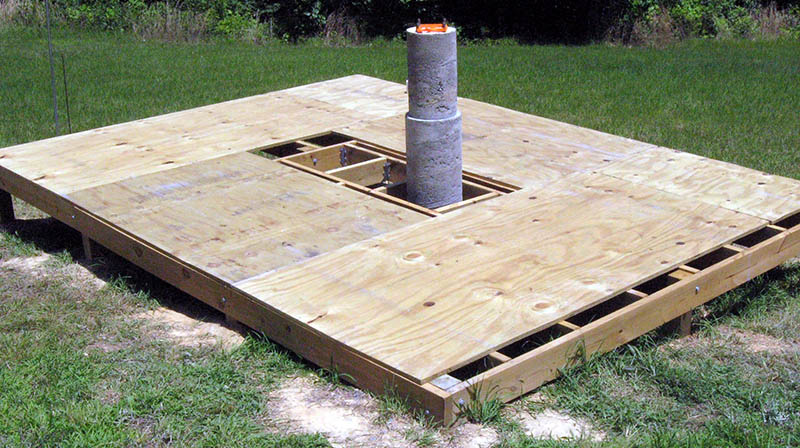
Here's the result of Mike's work. The open area around the pier needs two pieces of plywood, one with a square hole cut in it. Mike recorded key measurements, and will cut a cardboard template to check the fit before cutting the plywood.
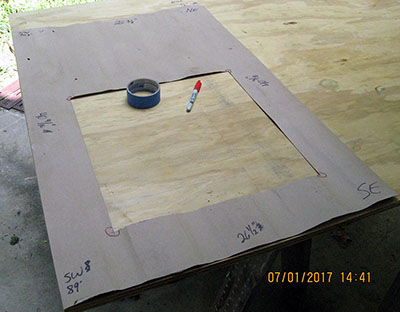
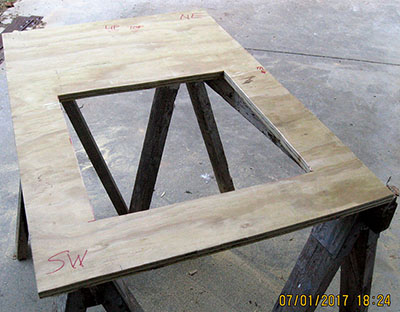
We decided to cut a single plywood panel to surround the concrete pier, instead of four individual pieces. Mike scavenged a large piece of cardboard from the local hardware store's back lot, and used it to make a template. Here is the template and the resulting plywood panel with its square hole for the pier.
|
|
In the evening, Mike installed the pier plywood while Louise cut and installed three narrow plywood strips along the south end of the deck (foreground). The remaining plywood square north of the pier is cut, but we need to fabricate a support for the northeast corner, which has no joists under it.
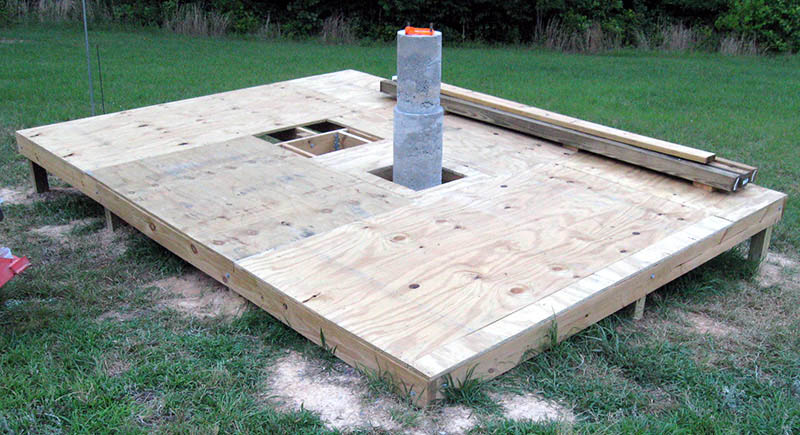
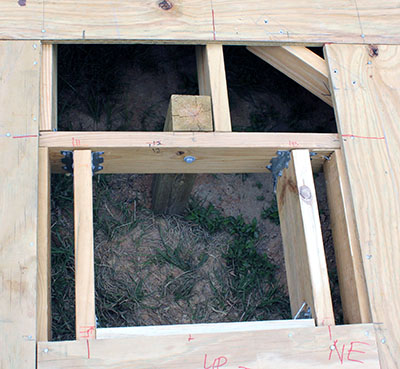
Mike screwed a short length of 2x4 to the bottom of the plywood adjoining the northeast corner of the empty square north of the pier, to support the remaining piece of decking.
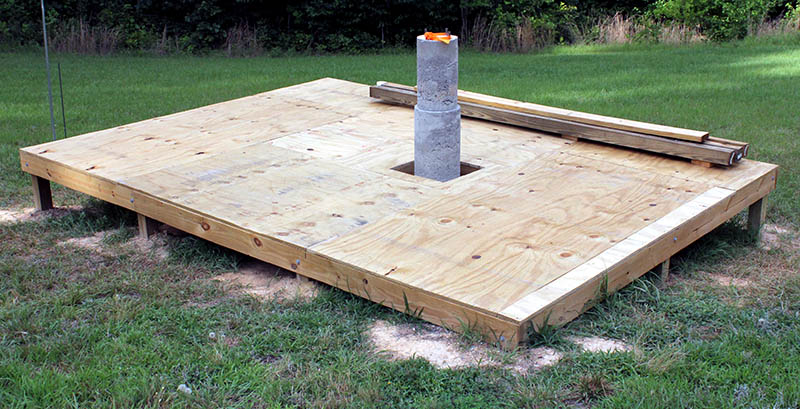
Then he nailed down the final piece of plywood to complete the observatory deck. Next up: Fabricate the walls in the shop.
Updated May 23, 2023